VEYE MIPI 290/327 for Jetson Nano/zh
1 概述
本文讲述怎样将VEYE-MIPI-290/327 模组接入到英伟达公司的Jetson Nano开发板上。采用的Jetson Nano软件版本为r32.2.1,我们提供了编译好的固件和源代码两种方式来方便用户的使用。
VEYE-MIPI-290/327是星光级内置ISP的摄像头模组,输出为MIPI-CSI2接口UYVY流模式。对于图像效果参数,我们并没有采用V4L2接口实现,而是采用了Shell脚本直接控制摄像头模组。
2 硬件准备及安装
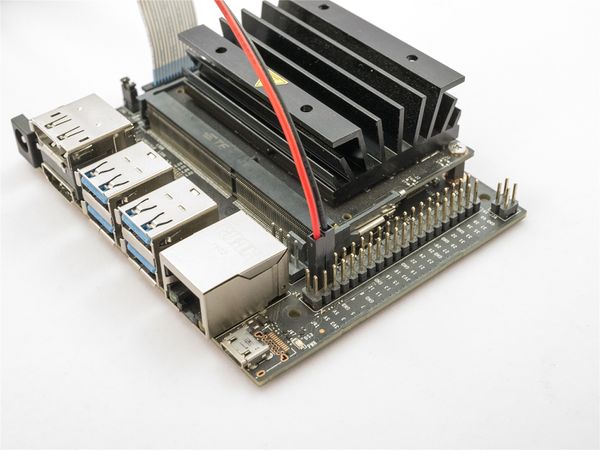
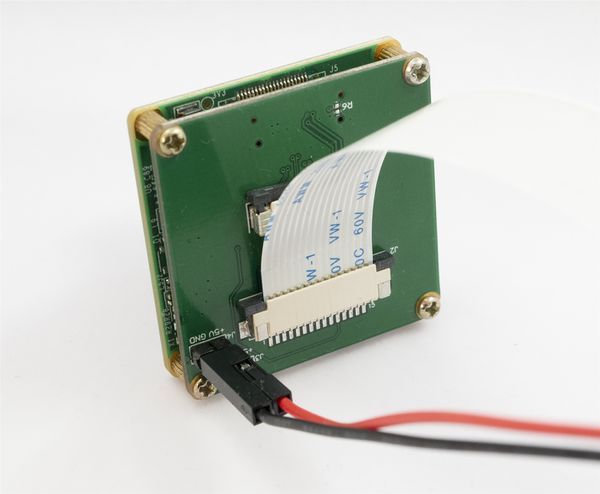
Jetson Nano的CSI2接口与树莓派的兼容,因此Mini Adapter Board与Adapter Board都可以使用。此外,需要额外的5V供电。
3 软件系统安装及准备
Jetson Nano的系统安装及使用请参考官方文档:get-started-jetson-nano-devkit. 详细的开发资料请参考官方文档:https://docs.nvidia.com/jetson/archives/l4t-archived/l4t-321/index.html
3.1 开发环境准备
- Host PC which runs Ubuntu 16.04 (64-bit).
- NVIDIA® provided L4T release and corresponding sample rootfs for Jetson Nano™ development kit.
- A kernel image , device tree blob (DTB) file and module drivers for the VEYE-MIPI-290/327 camera. The release package contains a kernel binary (Image),DTB files and module drivers, which you can download and rebuild from source.
- A jumper pin connected across J48 button header to enable DC power.
- A USB cable (micro USB port) to plug into the recovery port of the Jetson Nano™
- development kit.
- Power cable (5V-4A) to power the Jetson Nano™ board.
- Micro SD card must be connected to the J501 slot.
- A jumper pin must be connected to the pin 3 and pin 4 of J40 button header.
4 系统软件更新
4.1 准备工作
- 编译工具链
请参考这个链接安装编译工具链。
- L4T源码和Rootfs
可以通过SDK Manager或者直接下载两种方式来获得源码。具体参考官方文档,此处不再赘述。
- 配置开发环境
以下步骤假设SDK安装目录为<TOPDIR>,源代码在$L4T_DIR/sources目录。export TOP_DIR=<absolute path to top dir;in my case is /home/xumm/nvidia/nvidia_sdk/JetPack_4.2.2_Linux_GA_P3448/>
export L4T_DIR=$TOP_DIR/Linux_for_Tegra
export LDK_ROOTFS_DIR=$TOP_DIR/Linux_for_Tegra/rootfs
export ARCH=arm64
export CROSS_COMPILE=aarch64-linux-gnu-
export CROSS32CC=arm-linux-gnueabihf-gcc
mkdir -p $L4T_DIR/sources/kernel/out_kernel
export TEGRA_KERNEL_OUT=$L4T_DIR/sources/kernel/out_kernel
export KERNEL_PATH=$L4T_DIR/sources/kernel/out_kernel
- 生成默认版本烧写镜像,准备好L4T环境
sudo ./apply_binaries.sh
- 下载程序
cd $L4T_DIR
git clone https://github.com/veyeimaging/jetson_nano.gitexport RELEASE_PACK_DIR=$L4T_DIR/jetson_nano
4.2 使用编译好的程序
4.2.1 Installing the Kernel and DTS
cd $RELEASE_PACK_DIR/binaries
tar -xzvf Image.tar.gz
sudo cp Image $L4T_DIR/kernel/ -f
sudo cp $RELEASE_PACK_DIR/binaries/tegra210-p3448-0000-p3449-0000-a02.dtb $L4T_DIR/kernel/dtb/tegra210-p3448-0000-p3449-0000-a02.dtb -f
4.3 整体烧写 Flashing the Jetson Nano Development Kit
The steps to flash the Jetson Nano™ development kit are as follows:
- Ensure a jumper is connected across J48 button header to enable DC power.
- Connect the micro USB cable to the Jetson Nano™ and host PC.
- Set the board to recovery mode, as mentioned in below steps:
a. Power OFF the board.
b. Connect the jumper pin to the pin 3 and pin 4 of the J40 button header.
c. Power ON the Jetson Nano™ development kit.
If the board is successfully changed to recovery mode, the Jetson Nano™development kit will be enumerated as an USB device to the host PC.
Run the following command to verify whether the board is in recovery mode.
lsusb
The output message appears as shown below.
Bus 001 Device 102: ID 0955:7f21 NVidia Corp.
4. Run the following commands to flash the Jetson Nano™ development kit from
your host PC.
cd $L4T_DIR
sudo ./flash.sh jetson-nano-qspi-sd mmcblk0p1
Note: Now, the entire micro SD on the Jetson Nano™ development kit will be erased. It will take about 10-30 minutes to complete depending on the host PC configuration.
5. Reboot and connect the Jetson Nano™ board to a monitor and keyboard to complete the OS configuration, once flashing is completed.
4.4 使用源码进行编译
4.5 动态升级
5 应用和测试
5.1 视频流软件包和测试
5.2 视频控制软件包的使用


